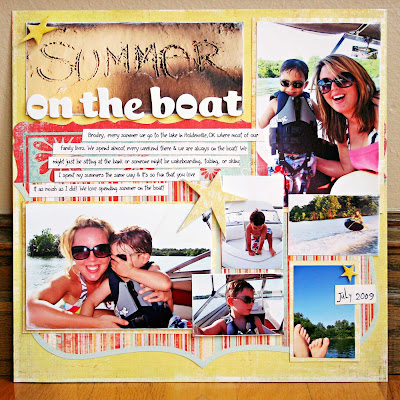
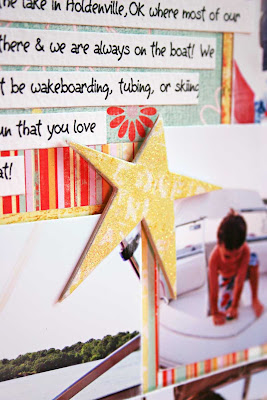
This is how I do journaling strips for my layouts. I'm sure everyone has their own way to do it, but I'm going to try to make it simple for you. If you have ever wanted to try them now is the time!
They are super easy. I posted about fonts and my Font Folder HERE. I use Wicrosoft Word to create my journaling. You can use any program where you can create text boxes in specific sizes. Some people use Photoshop, but it's easiest for me in MS Word.
You will need a printer to print your journaling. I use an Epson R1800 that I have had for four years now. It is a larger printer and will print on 12x12 but you don't have to have a large printer. You can just trim down your 12x12 paper to fit into your printer.
You will also need a ruler to measure and carstock to print your journling on. I keep scraps of cardstock to print my journaling onto. I just keep it in a drawer in my scrap room and pull out the size I need to print.
Journaling is the very last thing I do on my layout. Larger elements are more difficult to change last minute, but journaling can go just about anywhere.
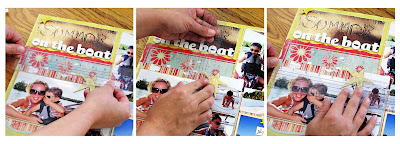
1. First you need to measure the area where the first part of your journaling strips will go. You need to measure both the width and the height. I measure about 1/4 of an inch less because I don't want my strips to overlap any elements on my layout. Write your measurement down.
(If you click on the photos you can view them larger)
2. Now measure the second area where the last part of your journaling will be. (If you only have one area for journaling just skip this step.)
Measure both width and height and write it down just like in step 1.
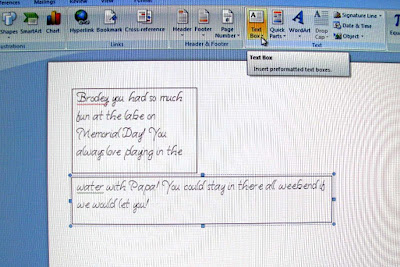
3. (I know this pic isn't the greatest but I don't know how to do a screenshot LOL Oh and this isn't the journaling for this layout. I made this journaling up)
In MS Word open a new document and create two text boxes. Set both to the sizes of the areas you measured. You do this by going to FORMAT TEXT BOX > Click on the SIZE tab.
4. Type your journaling in the boxes and change the font/size to fit both boxes. Get rid of the black line around the boxes by going to FORMAT TEXT BOX > COLORS AND LINES > NO COLOR.
5. Change the amount of space between the lines of text so that you will have room to trim them into strips once you print them. You can do this by going to PARAGRAPH > SPACING > 1.5 LINES.
6. Print out your journaling and trim the lines into strips.
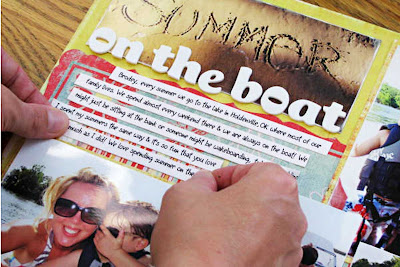
7. Arrange them onto your page and adhere them! That's it!
Now go try it on a layout! If you do be sure to comment and let me know! Also if you post to an online gallery link me up!
I hope this helped you if have never tried it before. Or maybe you did it a different way and you like this way better! If you have any tips yourself be sure and comment!
If you have any techniques you would like to learn leave me a comment and I'll do what I can to post a how-to or video!
Well I'm off to clean up dinner mess! I have been working on this post since oh about noon!
Have a great weekend! I'll be spending mine with my boys!
LUV APRIL :)

No comments:
Post a Comment